
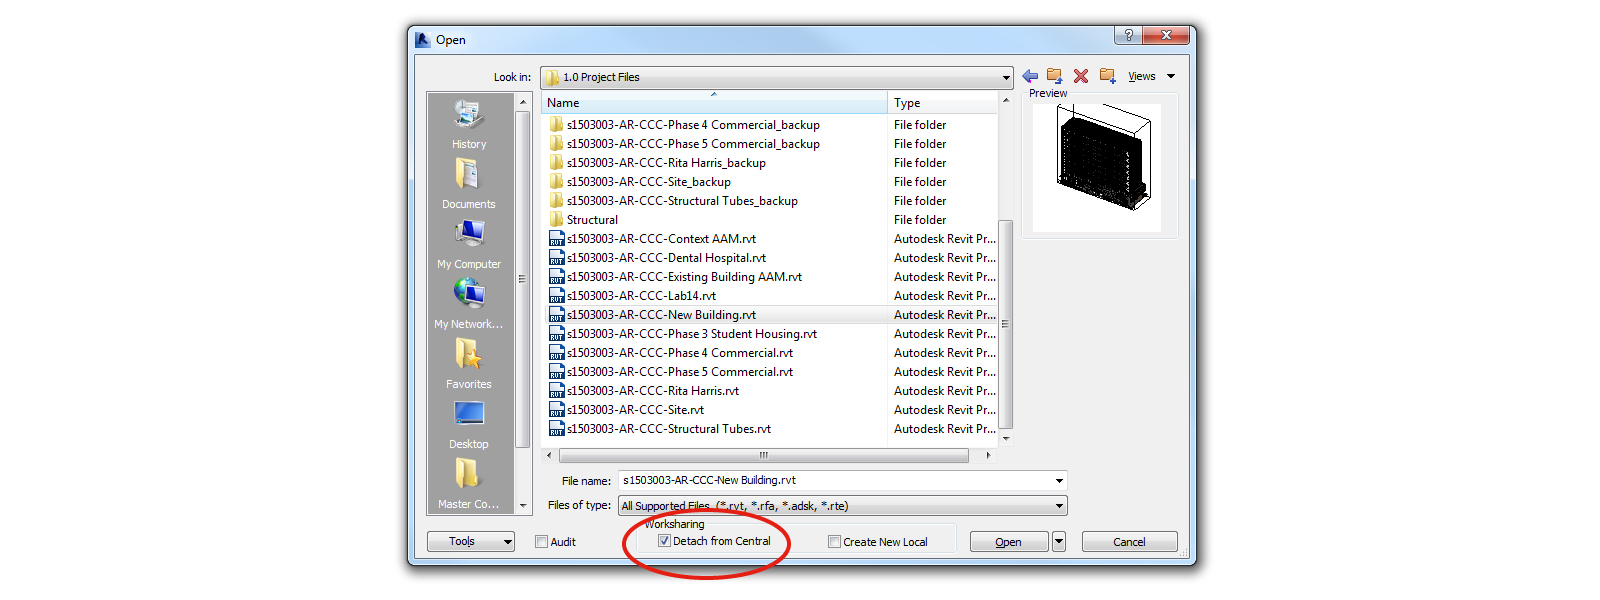
I’m often asked what the best method is to transmit a Revit model where worksharing has been enabled. Since these files are central files, you cannot use copy/paste as this will result in a new local copy being created, which is still associated with the central file. To avoid this, you need to open the project and select ‘detach from central’. Once open, you can save the file in the new location with a new file name. However, doing this manually for many files is a time-consuming process which is prone to user error.
Benefits of eTransmit
A much better method is to utilise the eTransmit add-in for Autodesk Revit which will automate the process. With eTransmit, dependent files can be included automatically. Furthermore, all absolute paths of dependent files are converted to relative paths or ‘no path’ to ensure that the model can locate the dependent files. There is also the option to purge unused elements to make the file smaller and easier to use for the recipient.

Workflow
- Ensure that all models are closed. On the eTransmit panel of the Add-Ins tab, click Transmit a Model.
- Select the model, a target directory, and file types to transmit.
- Optional: Select to open and save models in the active version of Revit (upgrade).
- Optional: If upgrading, select to purge unused families and other Revit objects.
- eTransmit inspects the model, and repaths and saves all linked files and external files in the target directory. If the options were selected, the files are also upgraded, and unused objects are purged before the files are saved to the target directory.
- Optional: Open the transmitted model in the target directory to validate transmission.
- Send the model by e-mail, FTP, or another method.
- The recipient opens the transmitted model.
- For a workshared model, the recipient selects an option in the Transmitted model dialogue.


4 Comments
Moses
is etransmit a risk to workshared central models? Is it safer to deatch the model before using etransmit?
paulwintour
There is no risk as eTransmit detaches the model automatically.
Sarah Calloway
Can you automate this task so that it is on a schedule? Similar to Navisworks Batch Utility.
Paul Wintour
Hi Sarah. As far as I’m aware, I don’t believe this is possible with out-of-the-box functionality. It might be possible, however, to automate it with Python/Dynamo and the BVN Revit Batch Processor: https://github.com/bvn-architecture/RevitBatchProcessor