

When creating a room data sheet, say for a healthcare project, it is often necessary to create a multi-category schedule that reports only the elements in the room. Within Revit, there are two ways to achieve this. Both, however, are either problematic or time-consuming. This tutorial explores an alternative approach that automates the process using Dynamo.
The problem
Pre-Revit 2023
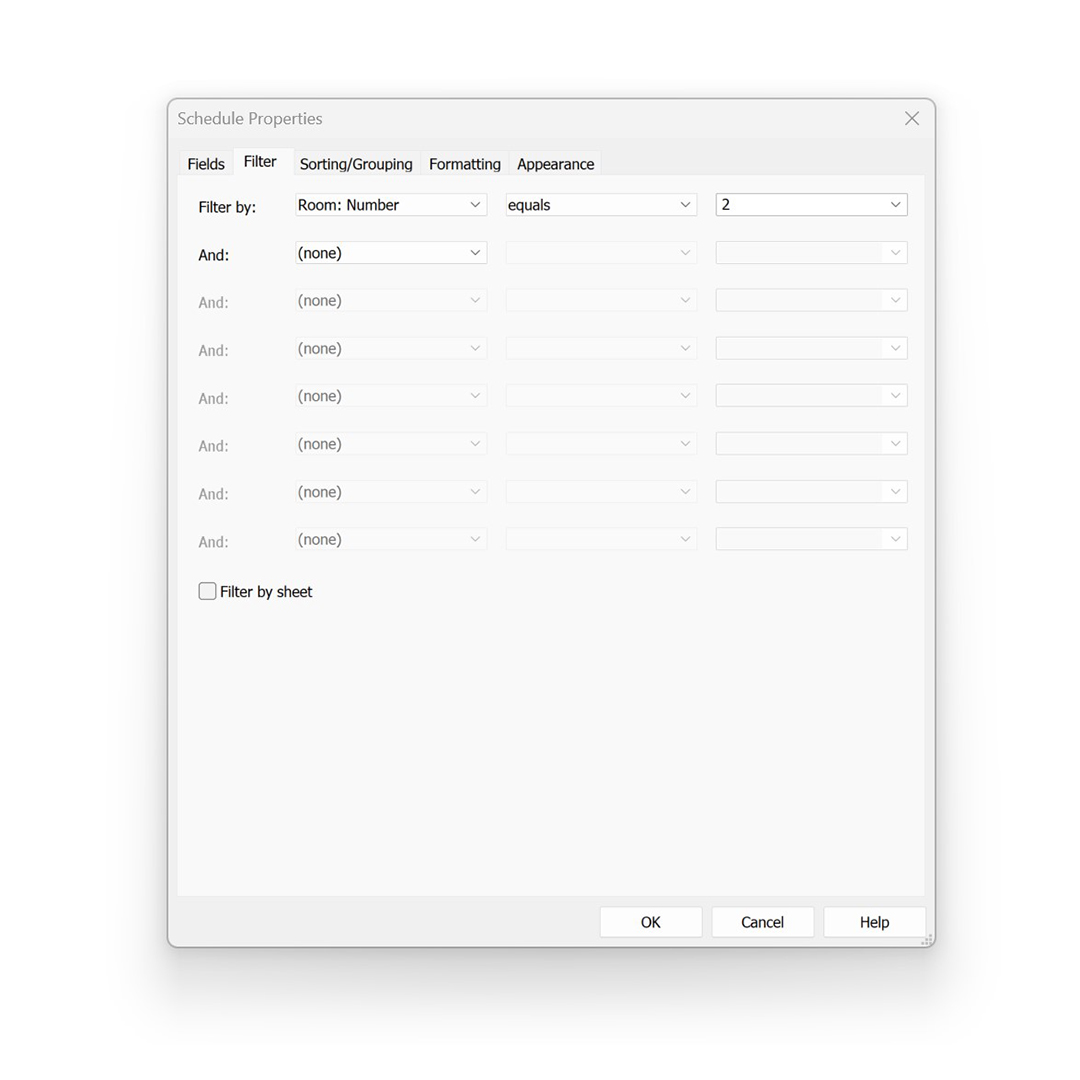
Until Revit 2022, the only way to have a schedule return only the elements in the room was to assign a filter. However, this method has two significant drawbacks. The first issue is that multiple schedules are required, one for each room, each with a unique filter. For example, one schedule must filter elements where the Room Number equals “101”, while another must filter elements where the Room Number equals “102”. The second issue is that, like any other view in Revit, schedules must have a unique View Name, meaning each schedule must be renamed manually.
Post-Revit 2023
Recognising this was time-consuming, Autodesk introduced a new function in Revit 2023, allowing you to filter by sheet. When enabled, filter by sheet allows you to have a single overall schedule that automatically filters once placed on a sheet. Only elements visible in viewports on the sheet are included in the schedule. The rest are filtered out. Note that, unlike other views, the same schedule can reside on multiple sheets, making this workflow possible. The benefit of this approach is obvious – A single schedule without the need for filters. So why wouldn’t you use this approach?

Filter by sheet limitations
Quite simply, filter by sheet applies only to elements visible in viewports on the sheet, which may not be desirable. For example, elements will not be included in the schedule if:
- Elements are concealed behind other geometry;
- Elements are located above the plan view cut plane, and no reflected ceiling plan is included; and
- Elements are hidden using visibility and graphic overrides.
Additionally, suppose a view extends beyond the limits of the room, as is frequently the case with a callout. In that case, elements outside the room will be visible and included in the schedule. While the intentions of the filter by sheet setting are admirable, in practice, it has significant limitations, making it problematic. So what is the solution?
Creating multi-category schedules with Dynamo
To address this problem, Parametric Monkey has developed a Dynamo graph, which is available as part of our Dynamo Package Development service. The graph generates a multi-category schedule for each room selected, renames the view, assigns a view template, and applies a unique By Room Number filter. The result is a series of schedules reporting all elements in the room, regardless of whether the element is visible.

To run the graph:
- Select the rooms to schedule (#1).
- Define the view name prefix (#2). This value can be left blank if desired.
- Define the room parameter to reference in the view naming convention (#3). By default, this is “Number”.
- Define the view name suffix (#4). This value can be left blank if desired.
- Define the view template to be applied (#5).
- Press Run.

Computational logic
The view naming convention is generated based on Prefix – Parameter Value – Suffix (inputs #2 – #4) of the selected rooms (input #1). If a proposed view name already exists, the room is excluded and returned separately. Next, a multi-category schedule is created, renamed, and a view template assigned. For best results, the view template should include all parameters except Filter, as these must vary from view to view. Finally, a filter is assigned by “Room: Number”. Note that although a schedule is created for all rooms, non-enclosed rooms are returned separately, as these schedules will be incomplete since Revit cannot assign elements to that particular room.
Conclusion
Generating room data sheets is often an incredibly time-consuming task. However, with automated routines such as the one shown above, it is possible to drastically save time whilst maintaining accuracy. To learn more about our Dynamo Package Development service, drop us a line and discover how we can automate your Revit workflows.


