

Most Rhino/Revit tutorials focus on a unidirectional workflow whereby Rhino geometry is transferred into Revit. However, sometimes we need to go the other way. This tutorial describes how to convert Revit rooms into 3D objects for export to Rhino. This workflow is useful if you want to run some solar access analysis in Ladybug.
Step 1: Clean Revit model
Clean up the Revit file by deleting any unplaced rooms and checking room names/number are complete.

Step 2: Create workset
Create a new workset, for example, “room mass”, which is not visible by default. This workset will be used to create the room volumes.

Step 3: Create Import Instances
In Dynamo, use the ‘Room.ImportInstance‘ node within the BVN package. This node incorporates the ‘LunchBox Room Element Collector’ node to read all rooms, and then using a string, filters the rooms as desired, in this instance, ‘Room’. Since the Revit API doesn’t allow the creation of in-place masses, an import instance is placed instead. These objects can then be used for a variety of purposes such as 3D programmatic diagrams and basic solar analysis.
By adding an ‘Element.SetName’ node, the import instances can be re-named based on the room number it was derived from, e.g. 1.01. Note that regardless of how the area schemes are set (Architecture > Room & Area > Area & Volume Computations) – by wall face, finished face, etc. – the resulting geometry will be the internalised volume, subtracting walls and floors. Since the name of each mass is associated with the room name from which it originated, various analysis can be performed of the mass, and the results pushed back into Revit via Dynamo and Excel. This process is particularly useful when using Grasshopper and Ladybug to run environmental of the Revit model.

Step 4: Export Import Instances
Select all the import instances and go File > export > CAD formats > *dwg. Hit the ellipsis under setup.
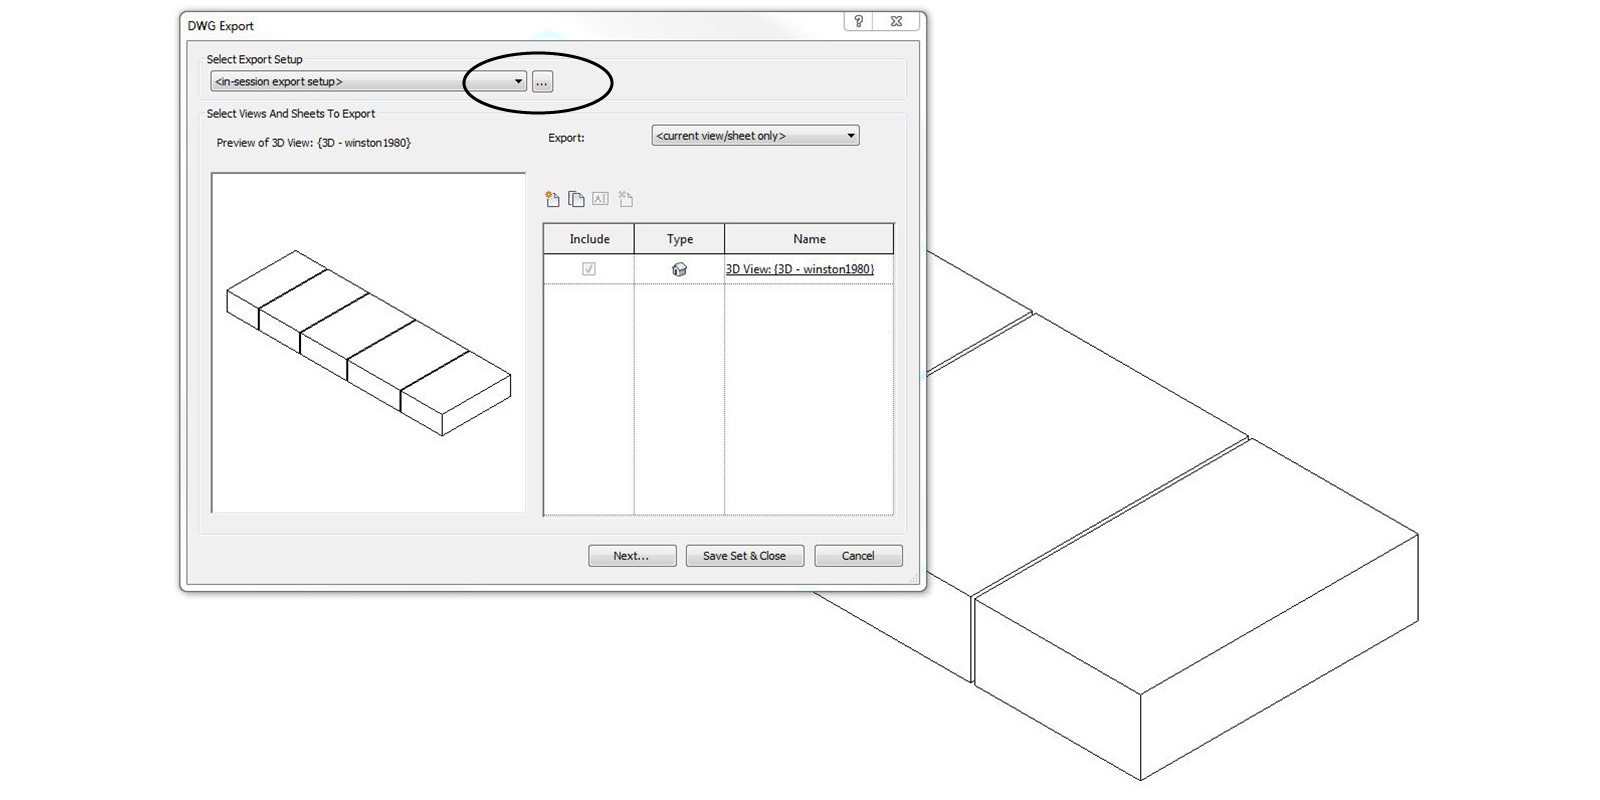
Under the solids tab, ensure it is set to ‘ACIS solids’. This setting will allow Rhino to import breps as opposed to a mesh.

Step 5: Import to Rhino
Import the *dwg file into Rhino. The objects will come in as blocks. Explode the blocks and merge all breps into a single layer.


2 Comments
Gregory Lotter
Can these objects be brought into programs such as powerbi?
Paul Wintour
I don’t see why not