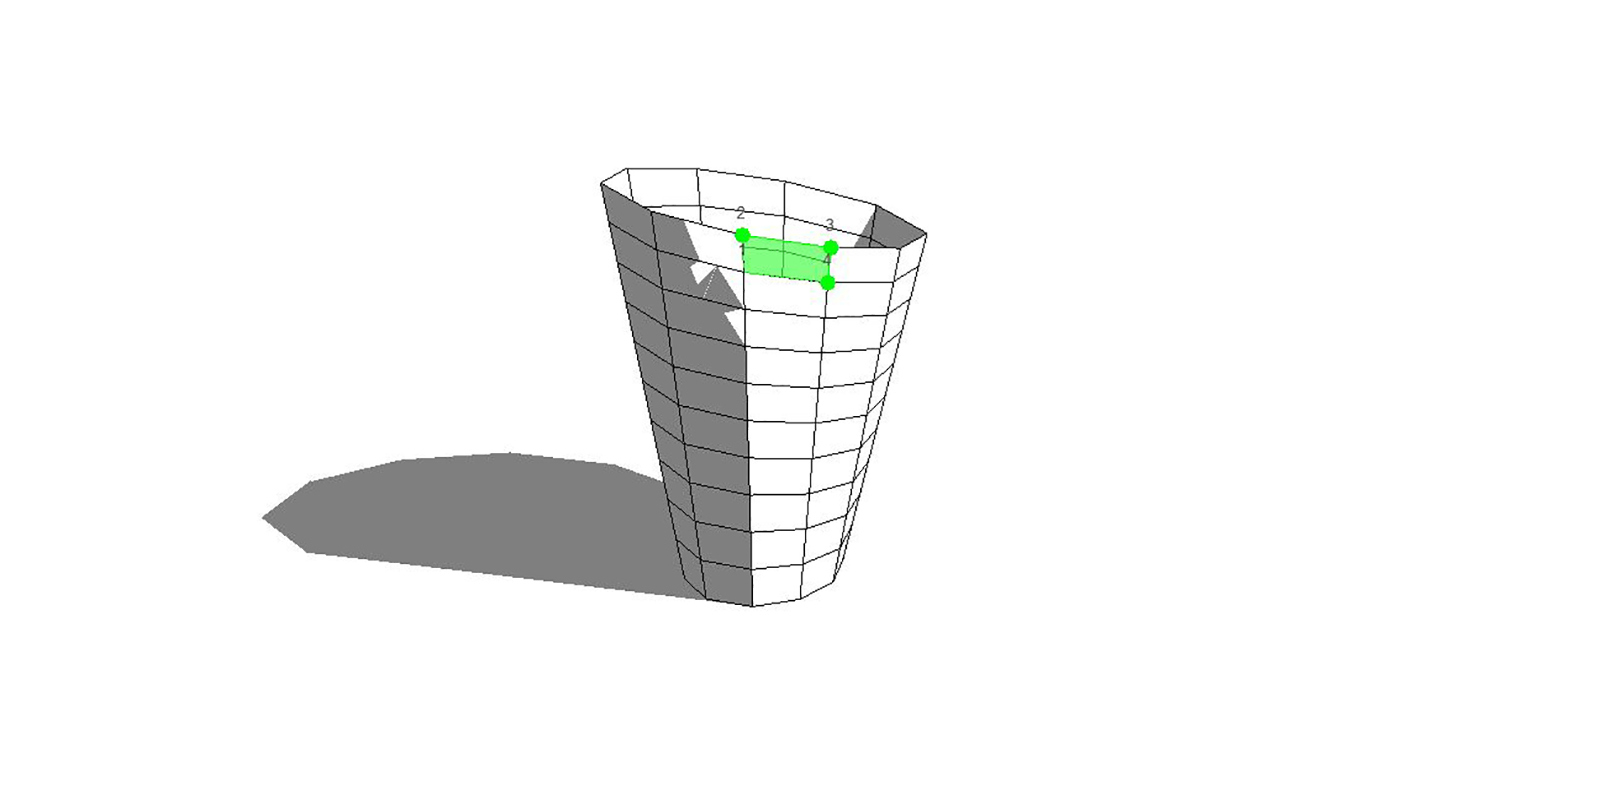

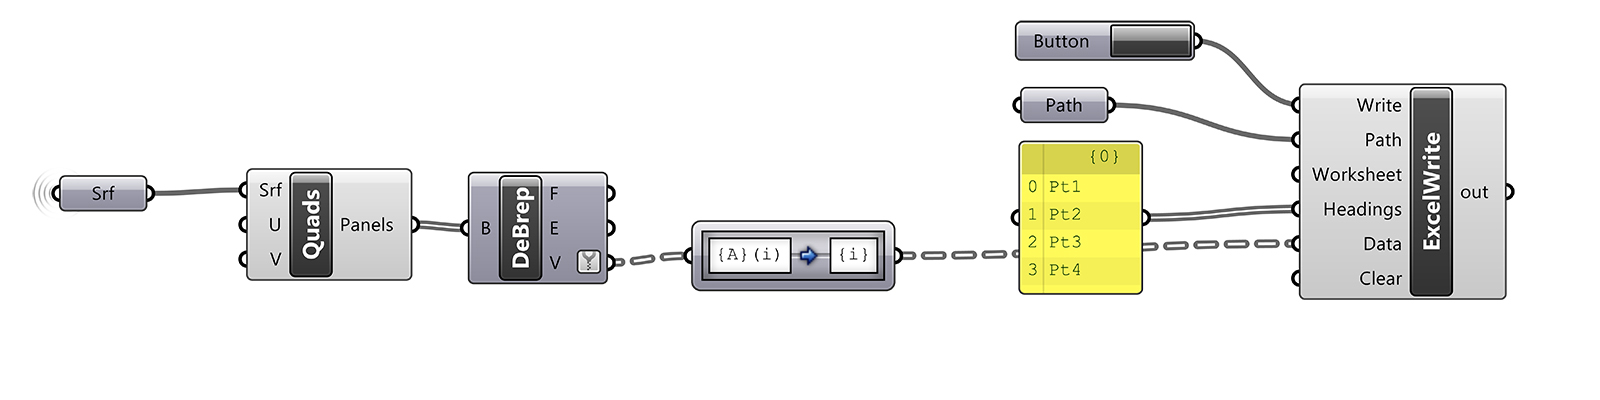
This tutorial explores how you can translate geometry from Rhino to Revit via Excel using an adaptive component family. The first stage is to generate some geometry within Grasshopper. Below is a simple panelisation script that can be exported to Excel. Note the use of the path mapper component to group the points, as we want the data to be structured in rows, not columns. At the end of the script, you can use Lunchbox’s ‘Excel Write’ component to export to Excel.
Excel export
Your Excel file should look something like this with four columns and each cell containing an XYZ coordinate. Since we used the newer version of ‘Excel Write’, headers are included, but these will be removed within Dynamo.

Dynamo automation
Ensure your 4-point adaptive component family (or however many points were exported) is pre-loaded into your Revit project. We can then create a simple Dynamo graph to populate our Revit model with the desired adaptive component. The graph reads the Excel file as strings (text), removes the curly brackets and splits the string into separate XYZ values so that points can be recreated and adaptive components placed. Note that there is an option input to remove the header from the Excel document, which must be set to True in our case.


Troubleshooting
If you receive an error, which usually takes the form of adaptive components not being placed or collapsed to the ground plane, ensure that the normal to your surface is correct. Depending on the complexity of your Revit family, if the order of placement points is reversed, the adaptive component can fail. The best way to check that your normals are correct is to go into Rhino’s display options and set the backface settings to be a single colour. This setting will give you a visual reference to the surface’s direction.

Another error that sometimes arises is that the Excel data cannot be imported into Dynamo. This known issue can be resolved by repairing Microsoft Excel in ‘Add or Remove Programs’ within Windows.


