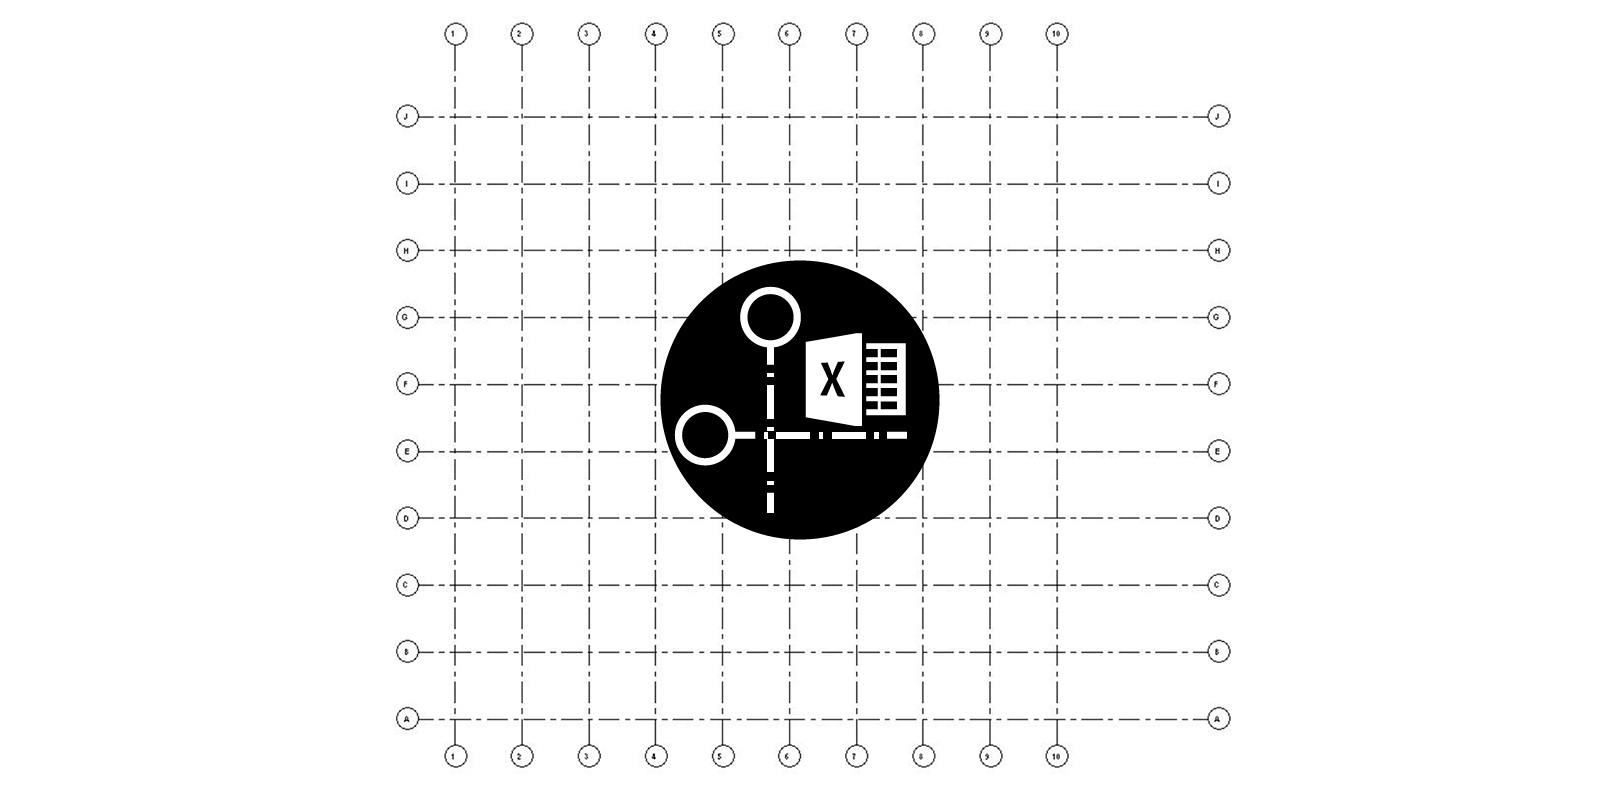

If you have a Grasshopper document and you want to transfer geometry to Revit, one way to do this is via Excel. Of course, there are other plug-ins available. However, Excel is ubiquitous and easy and straightforward to use. This tutorial explores how you can translate grids from Rhino to Revit via Excel.
Create Grasshopper grids
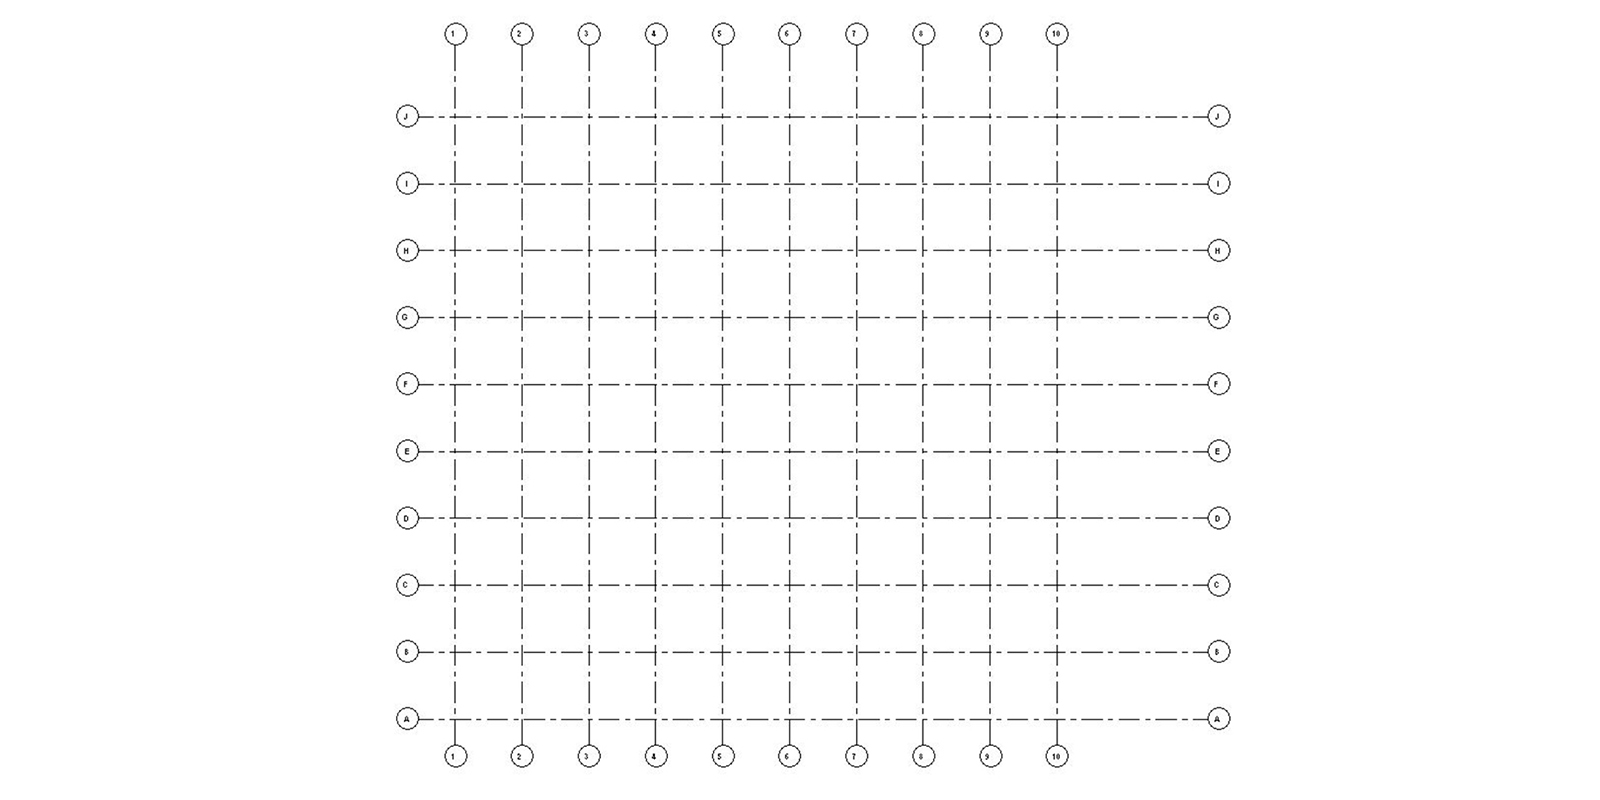
The first step is to generate some grids within Rhino/Grasshopper. The example below uses a simple Grasshopper script to create the grids as well as the numbering sequence. The start and endpoints of the grids, along with their mark value, are exported to Excel via the Lunchbox ‘ExcelWrite’ component.

Once exported, the Excel spreadsheet will look something like this.

Create Revit grids with Dynamo
We can now use Dynamo to import this data and create native Revit grids that are numbered accordingly. The example below imports data from Excel with an option to remove headers. Note that the data is set not to be strings at this point. Points are the generated representing the start and end points of the grids.

In order to get the mark values correct, some data manipulation is needed as a grid’s ‘Name’ parameter must be text. Values that are numbers have ‘Math.Floor’ applied to remove any trailing zeros before being converted to a string (text). Values that are strings are made uppercase. Finally, the mark values are regrouped and sorted, and the grids created.
Troubleshooting
If there are already grids in your project, you may encounter an error saying, “the name entered is already in use. Enter a unique name.” The easiest way to fix this is to ensure there are no grids in your project before running the Dynamo script.
Another error that sometimes arises is that the Excel data cannot be imported into Dynamo. This known issue can be resolved by repairing Microsoft Excel in ‘Add or Remove Programs’ within Windows.
Conclusion
The benefit of using the above method over, say, a simple *dwg export and using the pick line command is that not only is geometry being transferred, but the data as well – Thereby maintaining the ‘intelligence’ of the original Grasshopper script.


