

There are a few settings in Revit that can be hard to control. One of those is a view’s ‘Underlay’ setting. This tutorial will show you how to globally control this parameter so that when exporting or printing, you can be sure the view will display as required.
What is the view’s underlay?
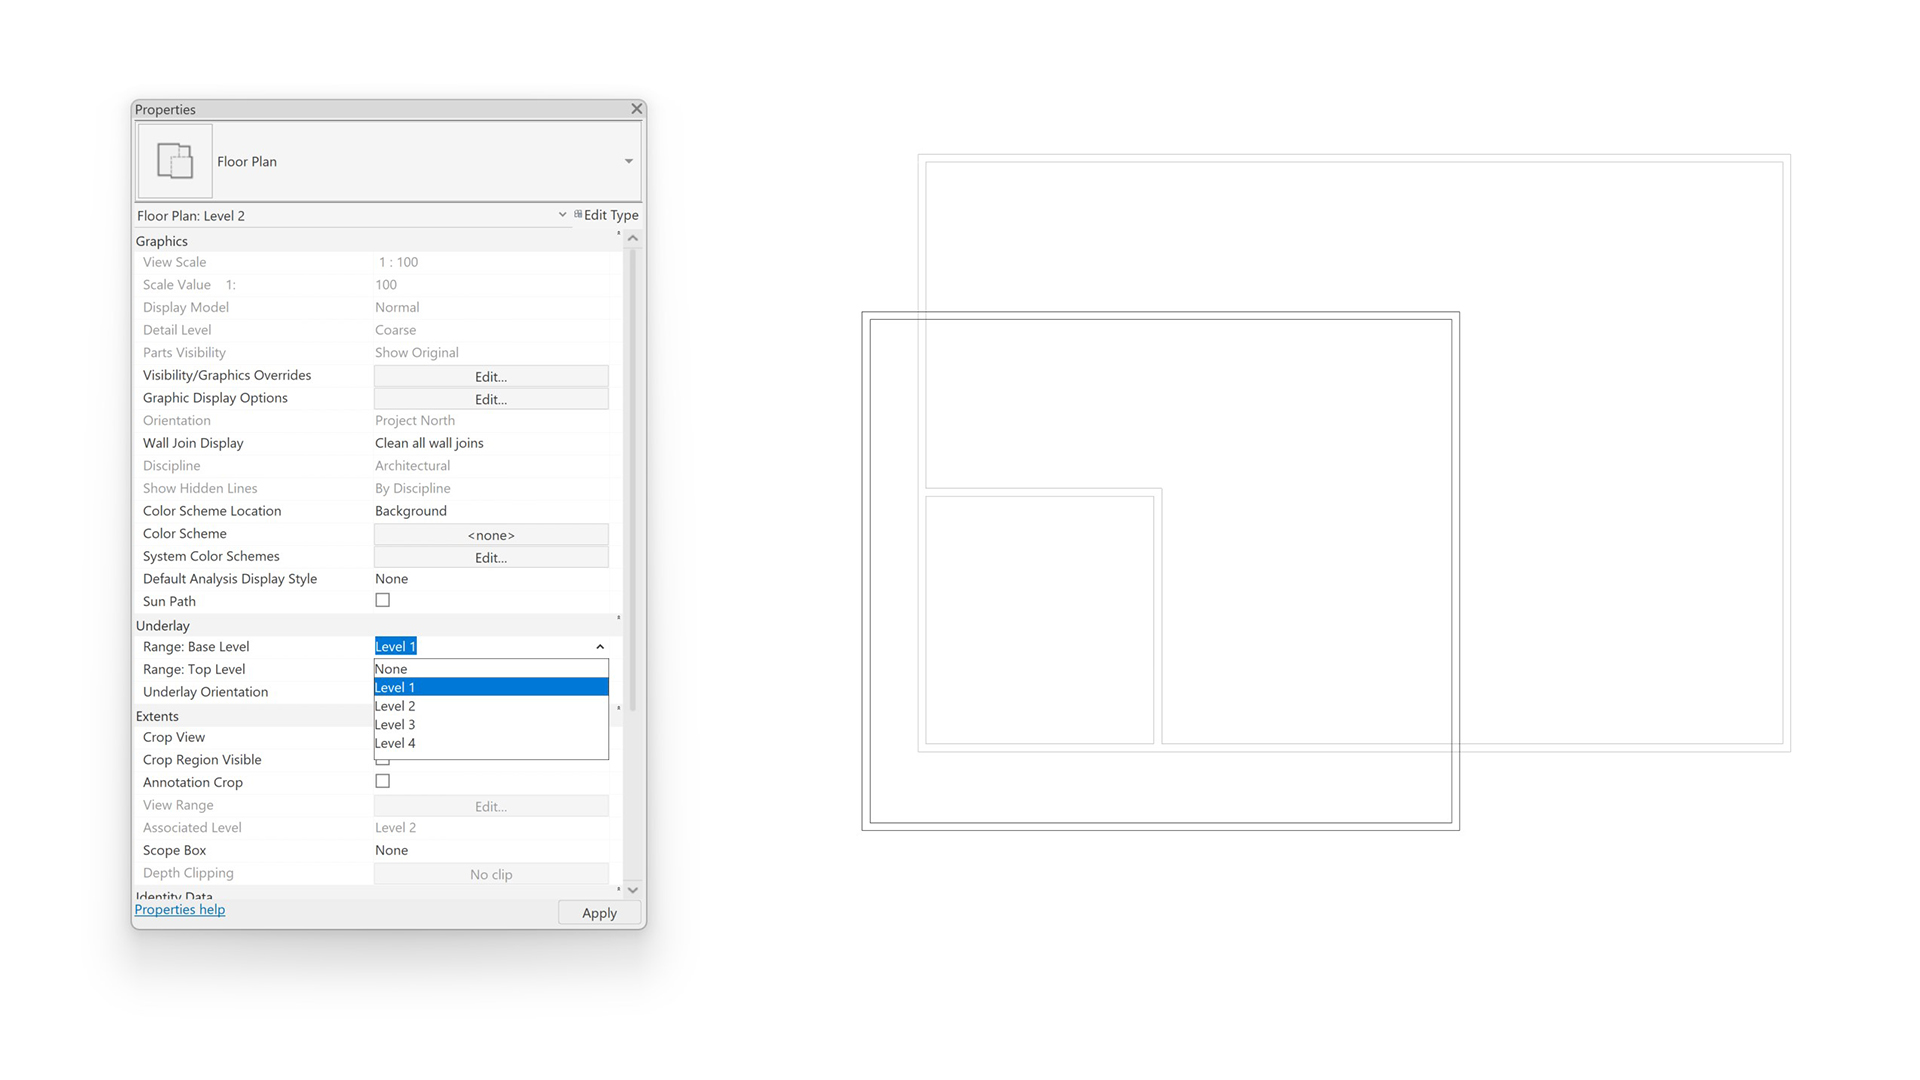
Underlays display another slice of the model under the current plan view. That slice of the model can be from above or below the current level. The underlay appears dimmed and is visible even in hidden line. The underlay is helpful in understanding the relation of components on different floors. Typically, you would turn off the underlay before exporting or printing the view. However, this cannot be controlled from the print window and must be done within the view itself. And here lies the problem.
The problem
While it is possible to set the ‘Underlay Orientation’ within a view template, it is not possible to set the ‘Underlay’ to ‘None’. This limitation seems like a pretty massive oversight from Autodesk and defeats the purpose of having view templates in the first place. Furthermore, creating a ‘View List’ schedule will not render available the underlay field. Therefore, a view’s underlay parameter can only be controlled by navigating to each view and manually changing it. This process can be incredibly time-consuming if users have wilfully changed the underlay settings on views that are to appear on sheets.

Dynamo automation
To solve this issue, Parametric Monkey has developed a Dynamo graph, available as part of our Dynamo Package Development service. Simply select the views to be updated in the Project Browser and run the graph. This simple technique will ensure all your views will display as required when printing.


