

Navigating the complex world of Revit’s coordinates system can be tricky. There are plenty of tutorials available that explain how to set up shared coordinates in your project. (Check out Do-U-Revit by David Baldacchino). However, what is often overlooked is Revit’s ‘internal’ coordination system, also known as the ‘startup location’, which is equivalent to 0,0,0. If you plan on using any of the interoperability plug-ins to transfer geometry from Rhino to Revit, then understanding how this system works is crucial.
Startup location
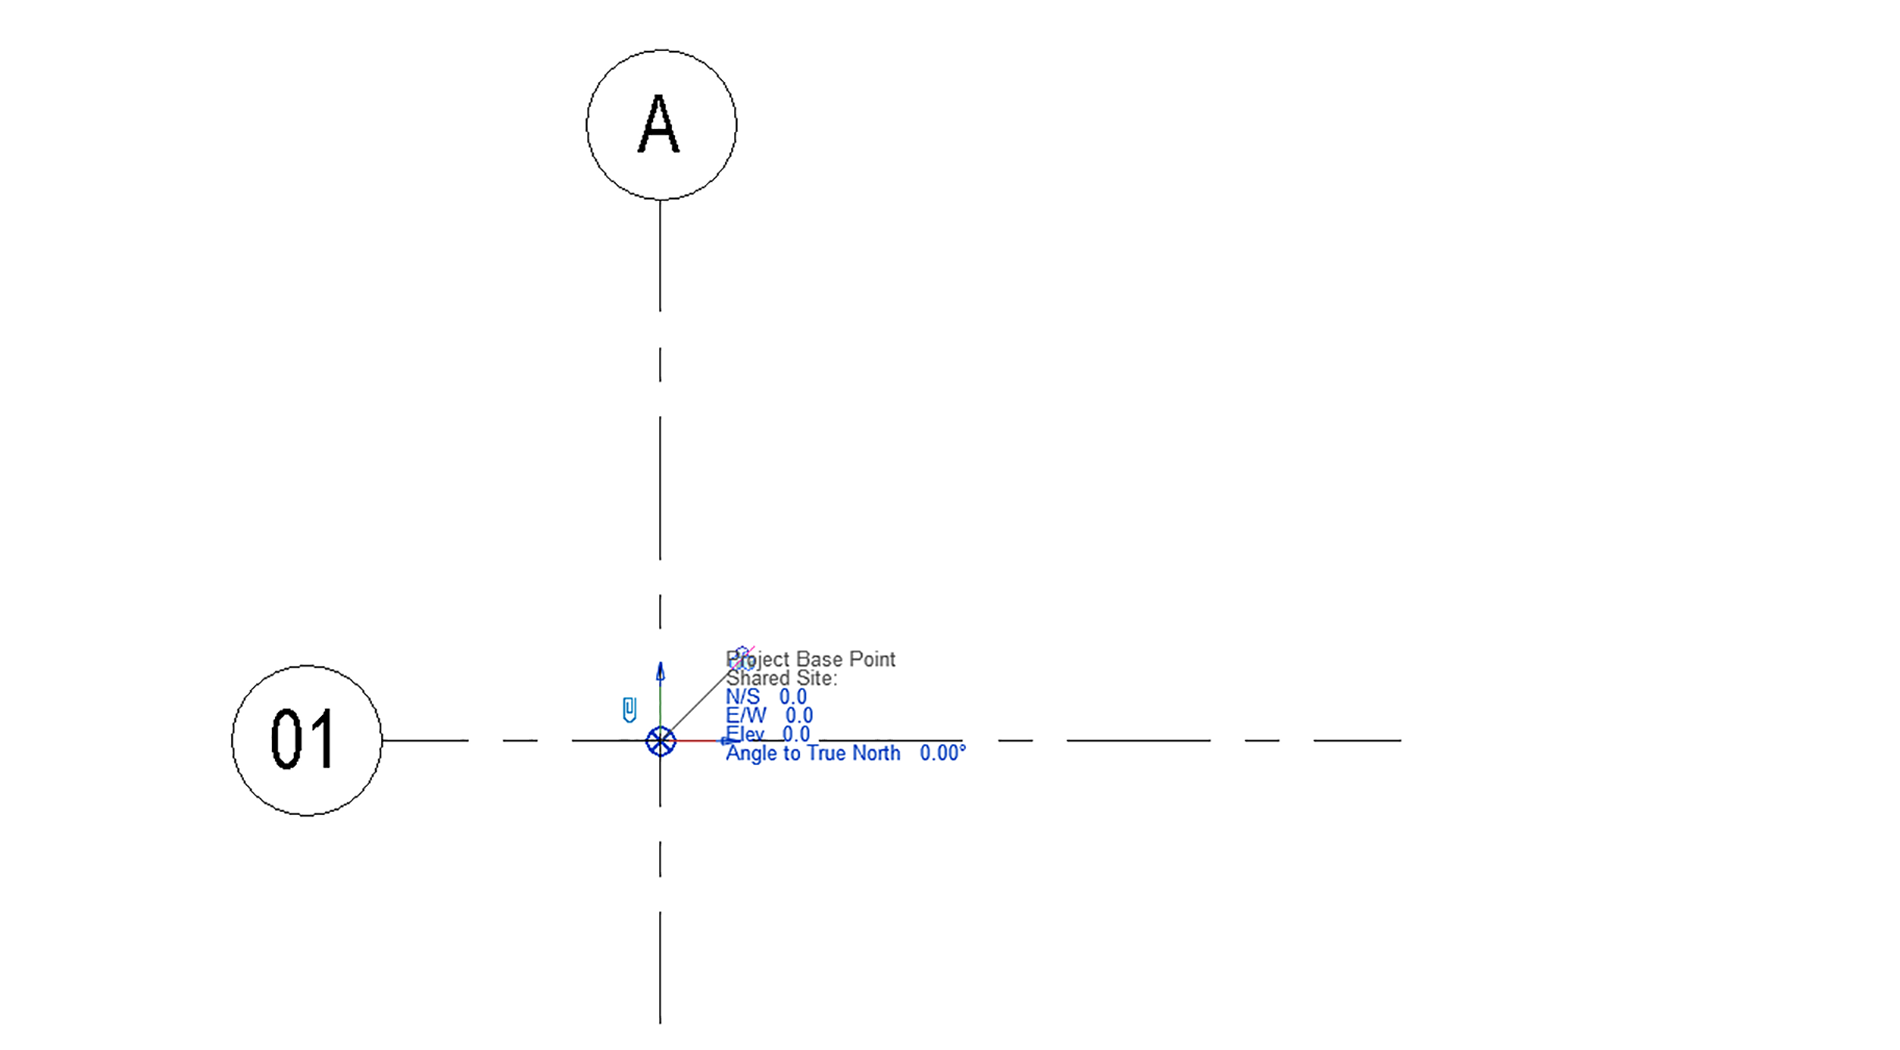
When you first start a new Revit project, the Project Base Point is located at its default startup location. This location is Revit’s internal coordinate system. Even if you reposition the Survey Point or Project Base Point, or set up shared coordinates, this point does not move. Ideally, you want to model around this point, for example, making it the intersection of grid ‘A1’.
Coordinate system interoperability
So why is this important? If you plan on working solely in Revit, it’s not a significant problem. However, when using interoperability plug-ins, the Rhino geometry being imported will always be relative to the project’s startup location. If you have used an arbitrary point in space as your setting out point, then this coordinate system needs to be replicated in Rhino/Grasshopper. This requirement may mean you need to re-work your grasshopper script, which can be very time-consuming.
Reposition test
To test if your project base point has been repositioned from its default startup location:
- Turn on the Project Base Point (Visibility Graphics > Site > Project Base Point).
- Select the Project Base Point and unclip it (paper clip with the slash).
- Right-click and select move to startup location.

If the Project Base Point moves, it has been moved from its original startup location. There are only really two options to fix this.
Option 1: Physically move elements
Unfortunately, neither the ‘specify coordinates at a point’ or ‘relocate project’ commands will physically move the geometry. Instead, it will just change the value of the coordinate and keep the startup location in the same place. Therefore, the first option is to select all the Revit geometry in your project, group them, and then physically move the geometry. The later this is done in a project, the more difficult it will be. It will obviously cause problems with 2D drafting information and sheets.
Option 2: Calculate translation vector
If your model is too far progressed to move all the geometry physically, the second option is to keep everything where it is and calculate the translation vector. To do this, first mark with a model line where the current Project Base Point is located.

Next, unclip the Project Base Point and move it to its startup location. Mark this location with another model line before moving the Project Base Point back to its previous position.

By drawing a line between these two points, we can calculate the translation vector. You then have two options:
- Incorporate this translation vector into the end of your Grasshopper script, or
- Import the Rhino/Grasshopper geometry as-is, group the new geometry, and then physically move the group into the correct location by snapping to the newly created translation vector. If you plan on continually re-exporting and importing geometry from Rhino, this will become quite time-consuming.
The lesson here is simple. Model correctly right from day one and save yourself a ton of time in the long run.


1 Comment
Carl smith
Enjoyed reading the article above, it really explains everything in revit Coordination, the article is very interesting and effective. Thank you and good luck with the upcoming articles.